

Irene Gunter’s secrets for successful joinery lighting
When you’ve gone to the trouble of commissioning beautiful joinery for your home, it deserves to be equally beautifully lit. Not only will this highlight the skill and craftsmanship with which it was made, but it will also help the piece to work well as part of an overall scheme. Or, in the case of a wardrobe or other closed joinery, ensure it is a useful and practical item. To my mind, unlit joinery looks like a dark hole in your room, which is such a waste when you could create something that becomes a real highlight. Turning all the lights off except the joinery lighting creates the cosiest of atmospheres – and is my go-to choice for a relaxing evening in.
Here, I answer the most frequently asked questions about joinery lighting…
I would like shelves with integrated lighting, what’s the best way to achieve this?
Adding lighting to shelves is the perfect way to highlight anything stored there. Lighting at the front of the shelves, for example, will wash down the front of your books with a lovely warming glow. Alternatively, for more subtlety lit joinery, place the lighting at the back of each shelf. This works particularly well if you have floating shelves, which are only fixed at either side. A strip of LED lights in the gap at the back of the shelf will shine up and down the wall behind.
The conventional way to recess LED lighting into a shelf is to set the lighting strip into a little track and then place a frosted diffuser on top. However, this means the line of light is visible, which can look unattractive – it’s much better to see the effect of the lighting rather than the lighting itself! As such, we recess the lighting at an angle, so even when you’re almost sitting underneath the shelf, you can’t see the dots of the LED.

I’m not keen on LED strips, what other options are there for shelves?
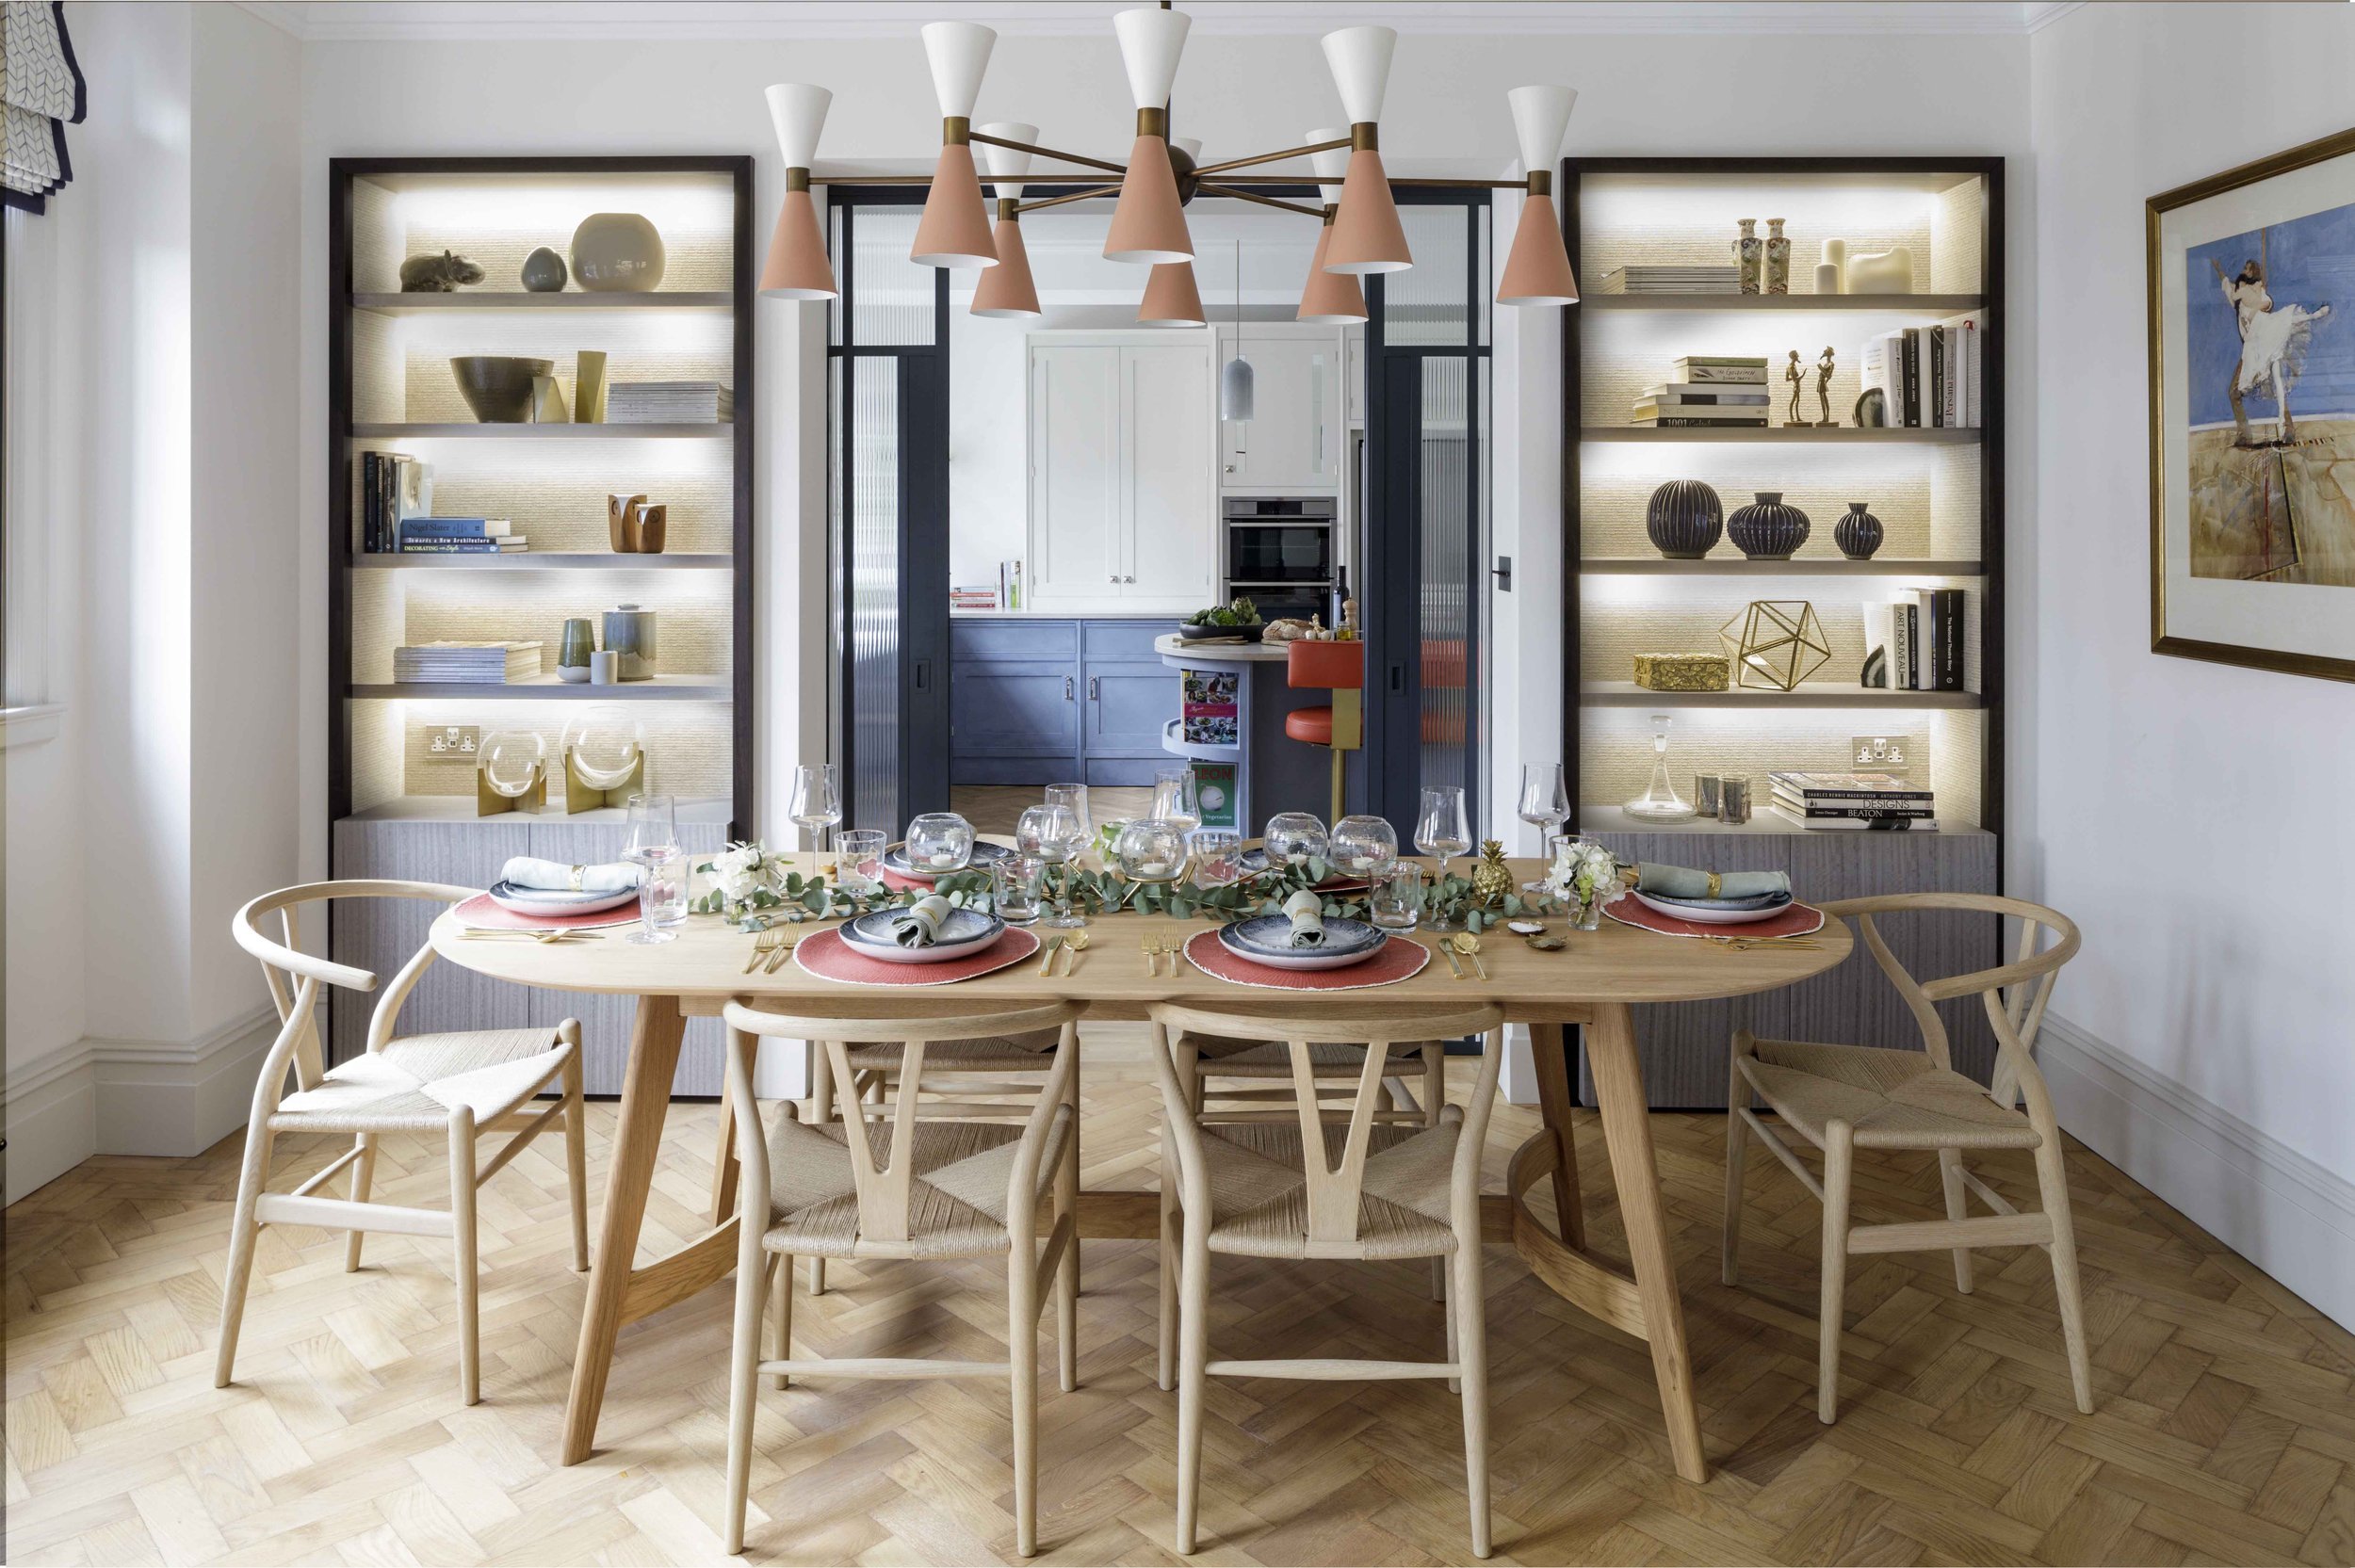
If LEDs leave you a bit cold, there are plenty of innovative alternatives. One great solution is to have sockets installed within the shelves at intervals, so you can plug in lamps without having wires trailing. This is a lovely simple solution that allows you to change the look by switching out lamps and moving them around. If you’ve already had your shelves built without lighting or wiring, a great retro-fit solution is rechargeable LED lamps that can be scattered throughout. We did this with our client in Notting Hill as a workaround because they’d originally been dead-set against joinery lighting. The little lamps looked really cute amongst the bookshelves as illustrated in the image above.

Are there any particular dos and don’ts of lighting shelving I should know about?
There are three main ones. Firstly, light joinery down rather than up, because when you light up, you have to worry about the dust build-up it creates. The only exception to this rule is when there’s something that simply must be highlighted, such as a beautiful sculpture. Secondly, make sure you highlight every shelf, otherwise, it just looks like the power has failed on the unlit shelves! Finally, shelves need to be 25-40mm in order to recess light within them – so if you want super-thin shelves, it won’t work. You can always add lighting to very thin shelves by adding an upstand as shown in the image above.

What is the best way to illuminate bedroom joinery?
Lighting every shelf with a recessed LED strip will undoubtedly illuminate every corner of your wardrobe, but it is an expensive way of doing it. A better solution is to have vertical lighting to the left and right within each wardrobe. It will give perfectly adequate light and the resulting soft glow is much more aesthetically pleasing too. Horizontal lighting in each shelf can look very luxurious but be mindful that it means that your shelves can't be adjusted.
A note of caution: it's important to check carefully how bright your chosen LED is, so that when you open the wardrobe doors you don’t get blinded by the light. This is particularly key in the early morning or at night when the last thing you want is an assault on your senses.

How can lighting be best used on kitchen joinery?
Lighting in the kitchen should serve to match both the task and the mood of the moment and joinery lighting will definitely contribute towards that. For example, recessing lighting under open shelves, as well as under wall-hung units, will give additional task lighting, but can also be used as ambient lighting when it’s time to relax. The same is true with glazed cupboards, where lighting within has a lovely diffused quality that adds a cosy feel to the kitchen. Then, for practicality, also consider placing lights within pantry cupboards to help keep the contents organised.
Adding lighting at floor level creates atmosphere and will serve to highlight that beautiful flooring you’ve spent ages choosing. In one project, we hid LED lighting along the plinth of the adjoining laundry room, which washed the stunning floral mosaic flooring in light and looked superb. If you have a floating kitchen island, an LED strip underneath it will give a low-level glow that is perfect for evenings when you don’t want bright lights. Incidentally, this trick works really well with bathroom vanities too.

Any top tips on the ideal colour temperature for joinery lighting?
A good rule of thumb is to stick to 2,700 kelvin, because if you go any higher it starts to look like an office and any lower can make the lighting very yellow. That’s why we’ve hit on 2,700K as our happy medium. It also means that even if your kitchen is from one company, the shelving from another and statement chandelier from a third, the lighting on each will be the same temperature and therefore be complementary rather than conflicting.