Gunter & Co reveals how to select and mount the perfect window dressing
Window dressings provide privacy from the outside world and can transform the interior of your home too, making a huge impact on the look and feel of a room. However, before you start searching for your dream window dressing, make sure you consider not just the size of the window but also what’s around it. If the window butts up against an adjacent wall, for example, you may simply not have space to install some types of window dressings. Be guided by what is there rather than imposing a pre-conceived notion of what you want.
Roman blinds
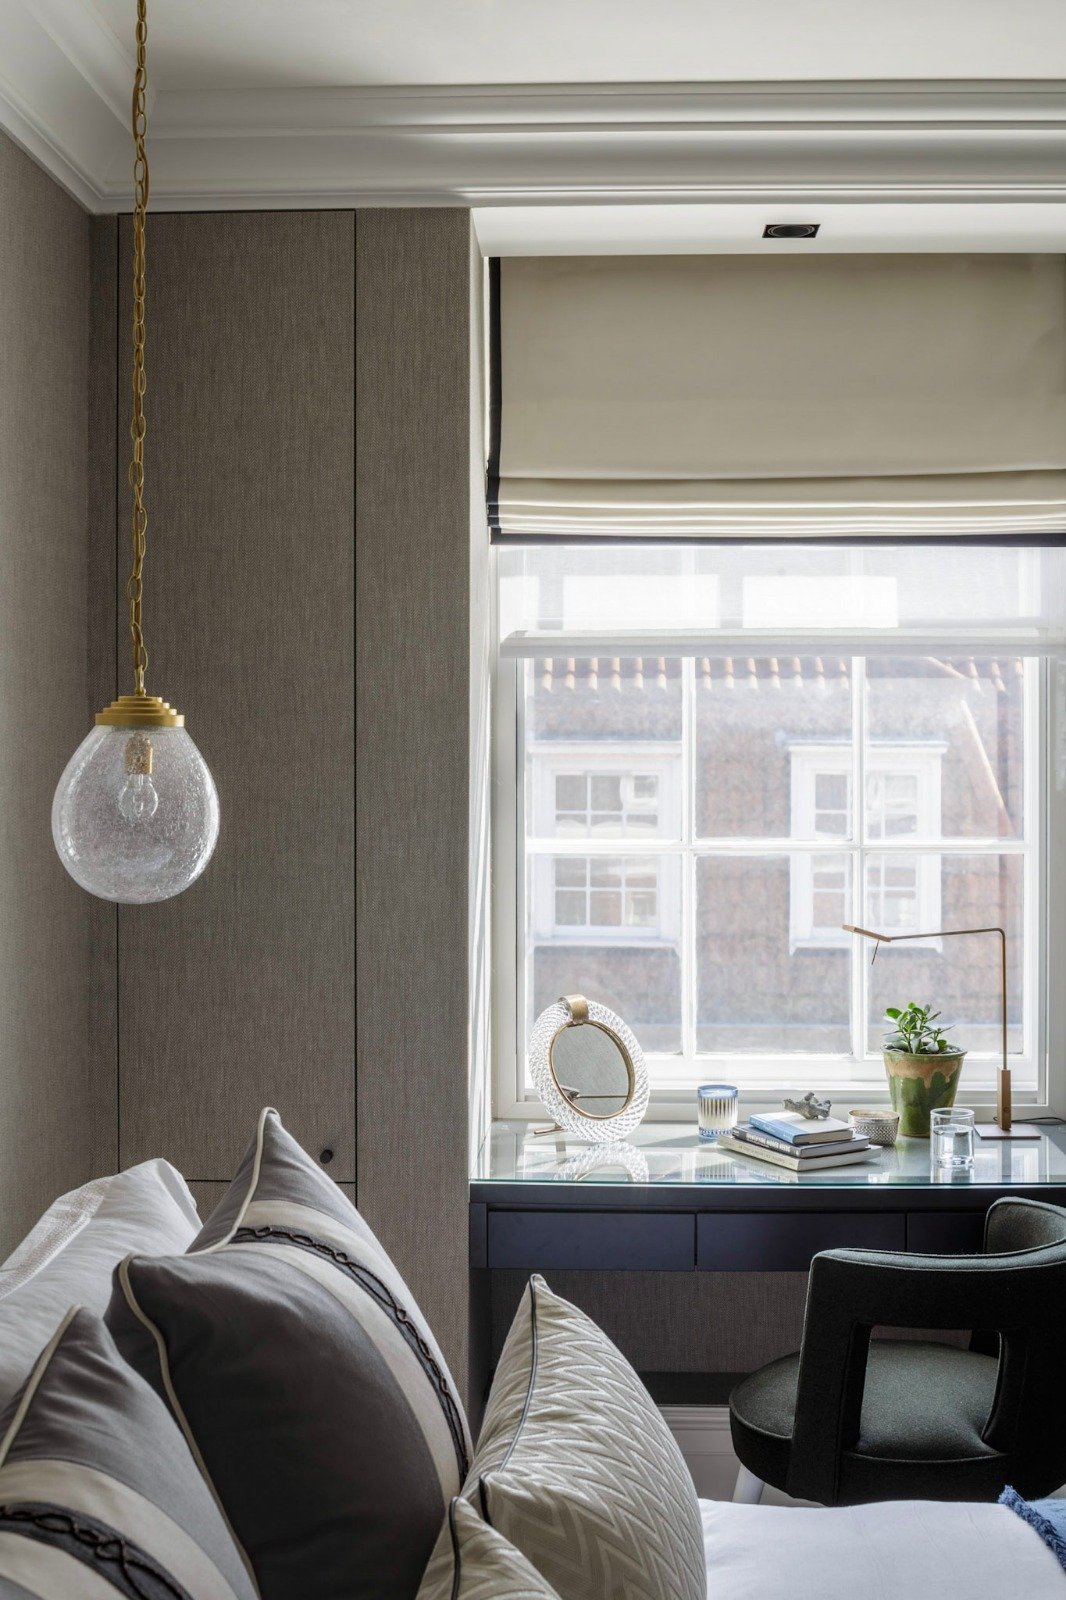
As a general rule, if you have a window that is less than a metre wide and a metre tall, go for a blind, as curtains will swamp a small window and look out of proportion. I usually specify Roman blinds because they make the window look more ‘dressed’ than other types of blind – and they’re much more attractive when not in use.
If there is space and the window is large enough, mount the blind within the window reveal. This imposes less on the room, and you will retain use of the windowsill. If the window is quite short, mount the blind outside the window reveal or you will lose too much daylight. Turn this into a positive by mounting the blind a little higher than it needs to be, as this will give the impression that the window is taller than it is. You will also be able to add a second window treatment inside the window reveal. For example, if you have front-facing windows, you could add a privacy blind that slots perfectly into the reveal.
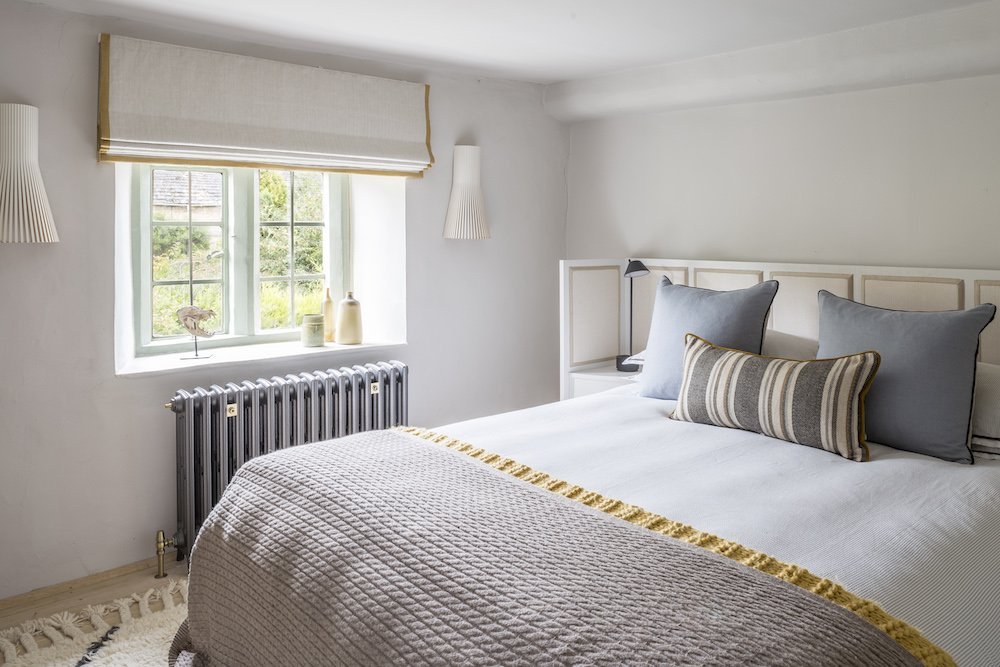
When mounting a blind outside the window reveal, ensure it is between 50mm and 100mm wider than the window on either side, and a little longer. This will minimise any light bleeding in and will also look more proportionate to the window.
Roman blinds come in an array of fabrics, so you can choose a pattern or a plain option. If you’re unsure about a full pattern, a stylish solution is to choose a plain fabric and edge it with a decorative or colourful trim that links with the room’s colour scheme and ties everything together.
When choosing the chain for your Roman blind, make sure it is sympathetic to the finish of the window’s locks and handles. For instance, if the locks and handles are satin nickel, select a satin nickel chain. This might sound like a small detail but it’s one that will stand out for all the wrong reasons if the finishes clash.
Roller blinds
Roller blinds are rarely my first choice because of the ugly ‘cartridge’, which is the cylinder around which the fabric is rolled. One option is to hide it behind a pelmet, or a neat designer’s trick is to reverse roll the blind so that when it’s hung, the cartridge is hidden.
Another solution is to conceal the blind completely by creating a recess in the ceiling where the roller blind can sit. However, be aware this isn’t a retrofit solution. You can only really do this on a full renovation when you’re building ceilings – and even then, your joists may need to move because of it.
Automated blinds
I find that automated blinds are a very convenient solution, particularly for tall or large glazed areas where it would be an effort to adjust several sections of blinds manually. You can also close all the blinds in the house simultaneously at the touch of a button should you wish.
Automated blinds are either mains wired or battery operated. You’ll need to install mains-wired blinds at the same time as you are wiring the rest of the house, but if you are retrofitting blinds, there are some high-end battery-powered solutions – you just need to be mindful of recharging the batteries.
Curtains
When installing curtains, there are many decisions to make, from colour and pattern to length, lining and the type of curtain pole you want (or perhaps you don’t want one at all). The choice can sometimes feel a little overwhelming, so I like to break the process down into bite-sized decisions.
If you like the traditional look and feel of a curtain on a pole, consider painting a wooden pole to match the room or choose a finish that complements the overall scheme. An alternative, which we employ a lot on our projects, is a pole with an integrated track. I like this option because you get the best of both worlds. You have the look of a pole while the track makes it much easier to draw the curtains, particularly important with large windows where the curtain is covering quite an expanse. You can even add a decorative finial on each end of the pole to complete the look.
Curtain tracks are an option if you don’t want a curtain pole, but it doesn’t add much to the aesthetic of the room. One solution is to create a recess by dropping the ceiling; this makes the curtains almost appear out of nowhere. If you’re not able to drop your ceiling, a simpler idea is to recess the track into a shallow channel in the ceiling so that it is as discreet as possible.
When it comes to curtain linings, whether you choose blackout lining or light-filtering lining will depend on the function of the room you’re furnishing. Either way, to add weight and quality to curtains, I always include an additional interlining - an additional layer of fabric sewn between the curtain fabric and the blackout or light-filtering lining, which is visible from the outside of the house.
Curtain headings (the way a curtain hangs from a pole or track) are another element to consider. There are many different types, some of which suit certain styles of property more than others. The one I use is a cartridge heading, which gives a simple and even fold – an unfussy style that is perfect for contemporary interiors.
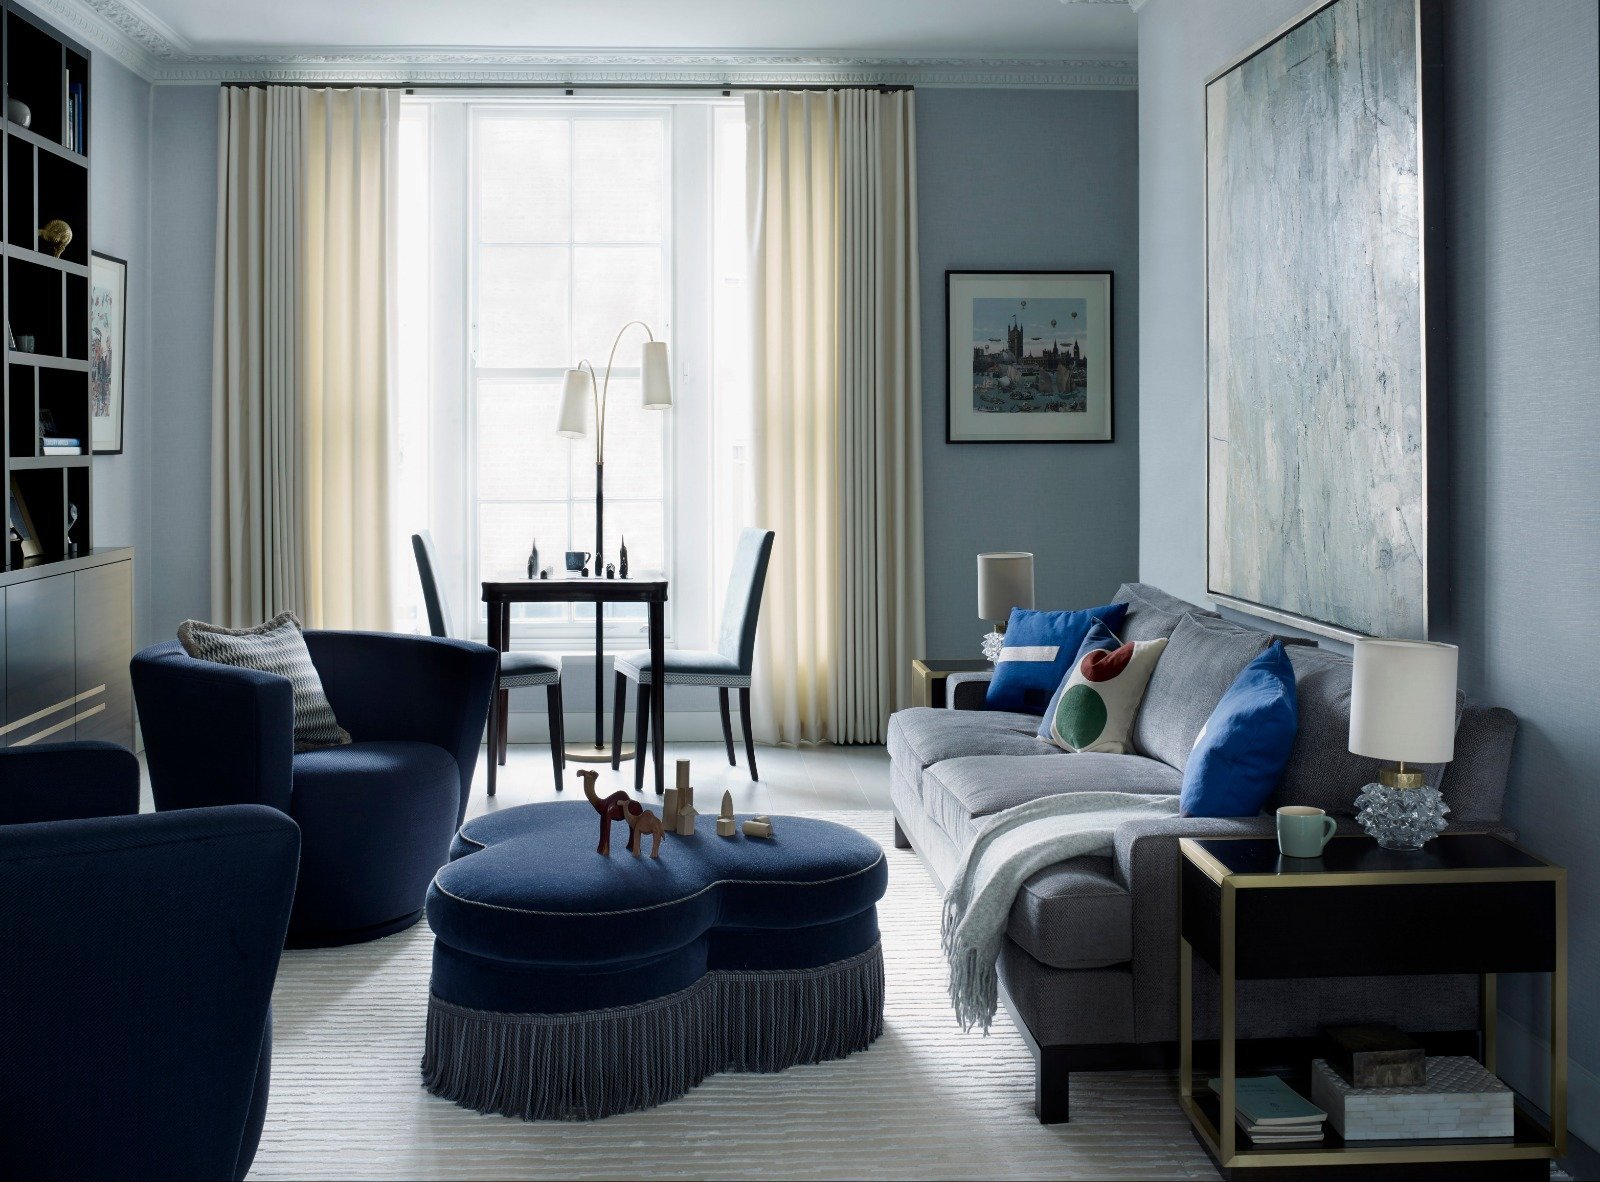
In terms of curtain length, to my mind it’s a big no-no to have a sizeable gap between the floor and the hem of the curtains. This is a look that needs to stay firmly in the 1980s! If your interior is contemporary, curtains should sit just a couple of millimetres above the floor. Alternatively, in more traditional projects you might have them pooling onto the floor, which gives a more dramatic look.


